ramen cat lumbar pack / bag build

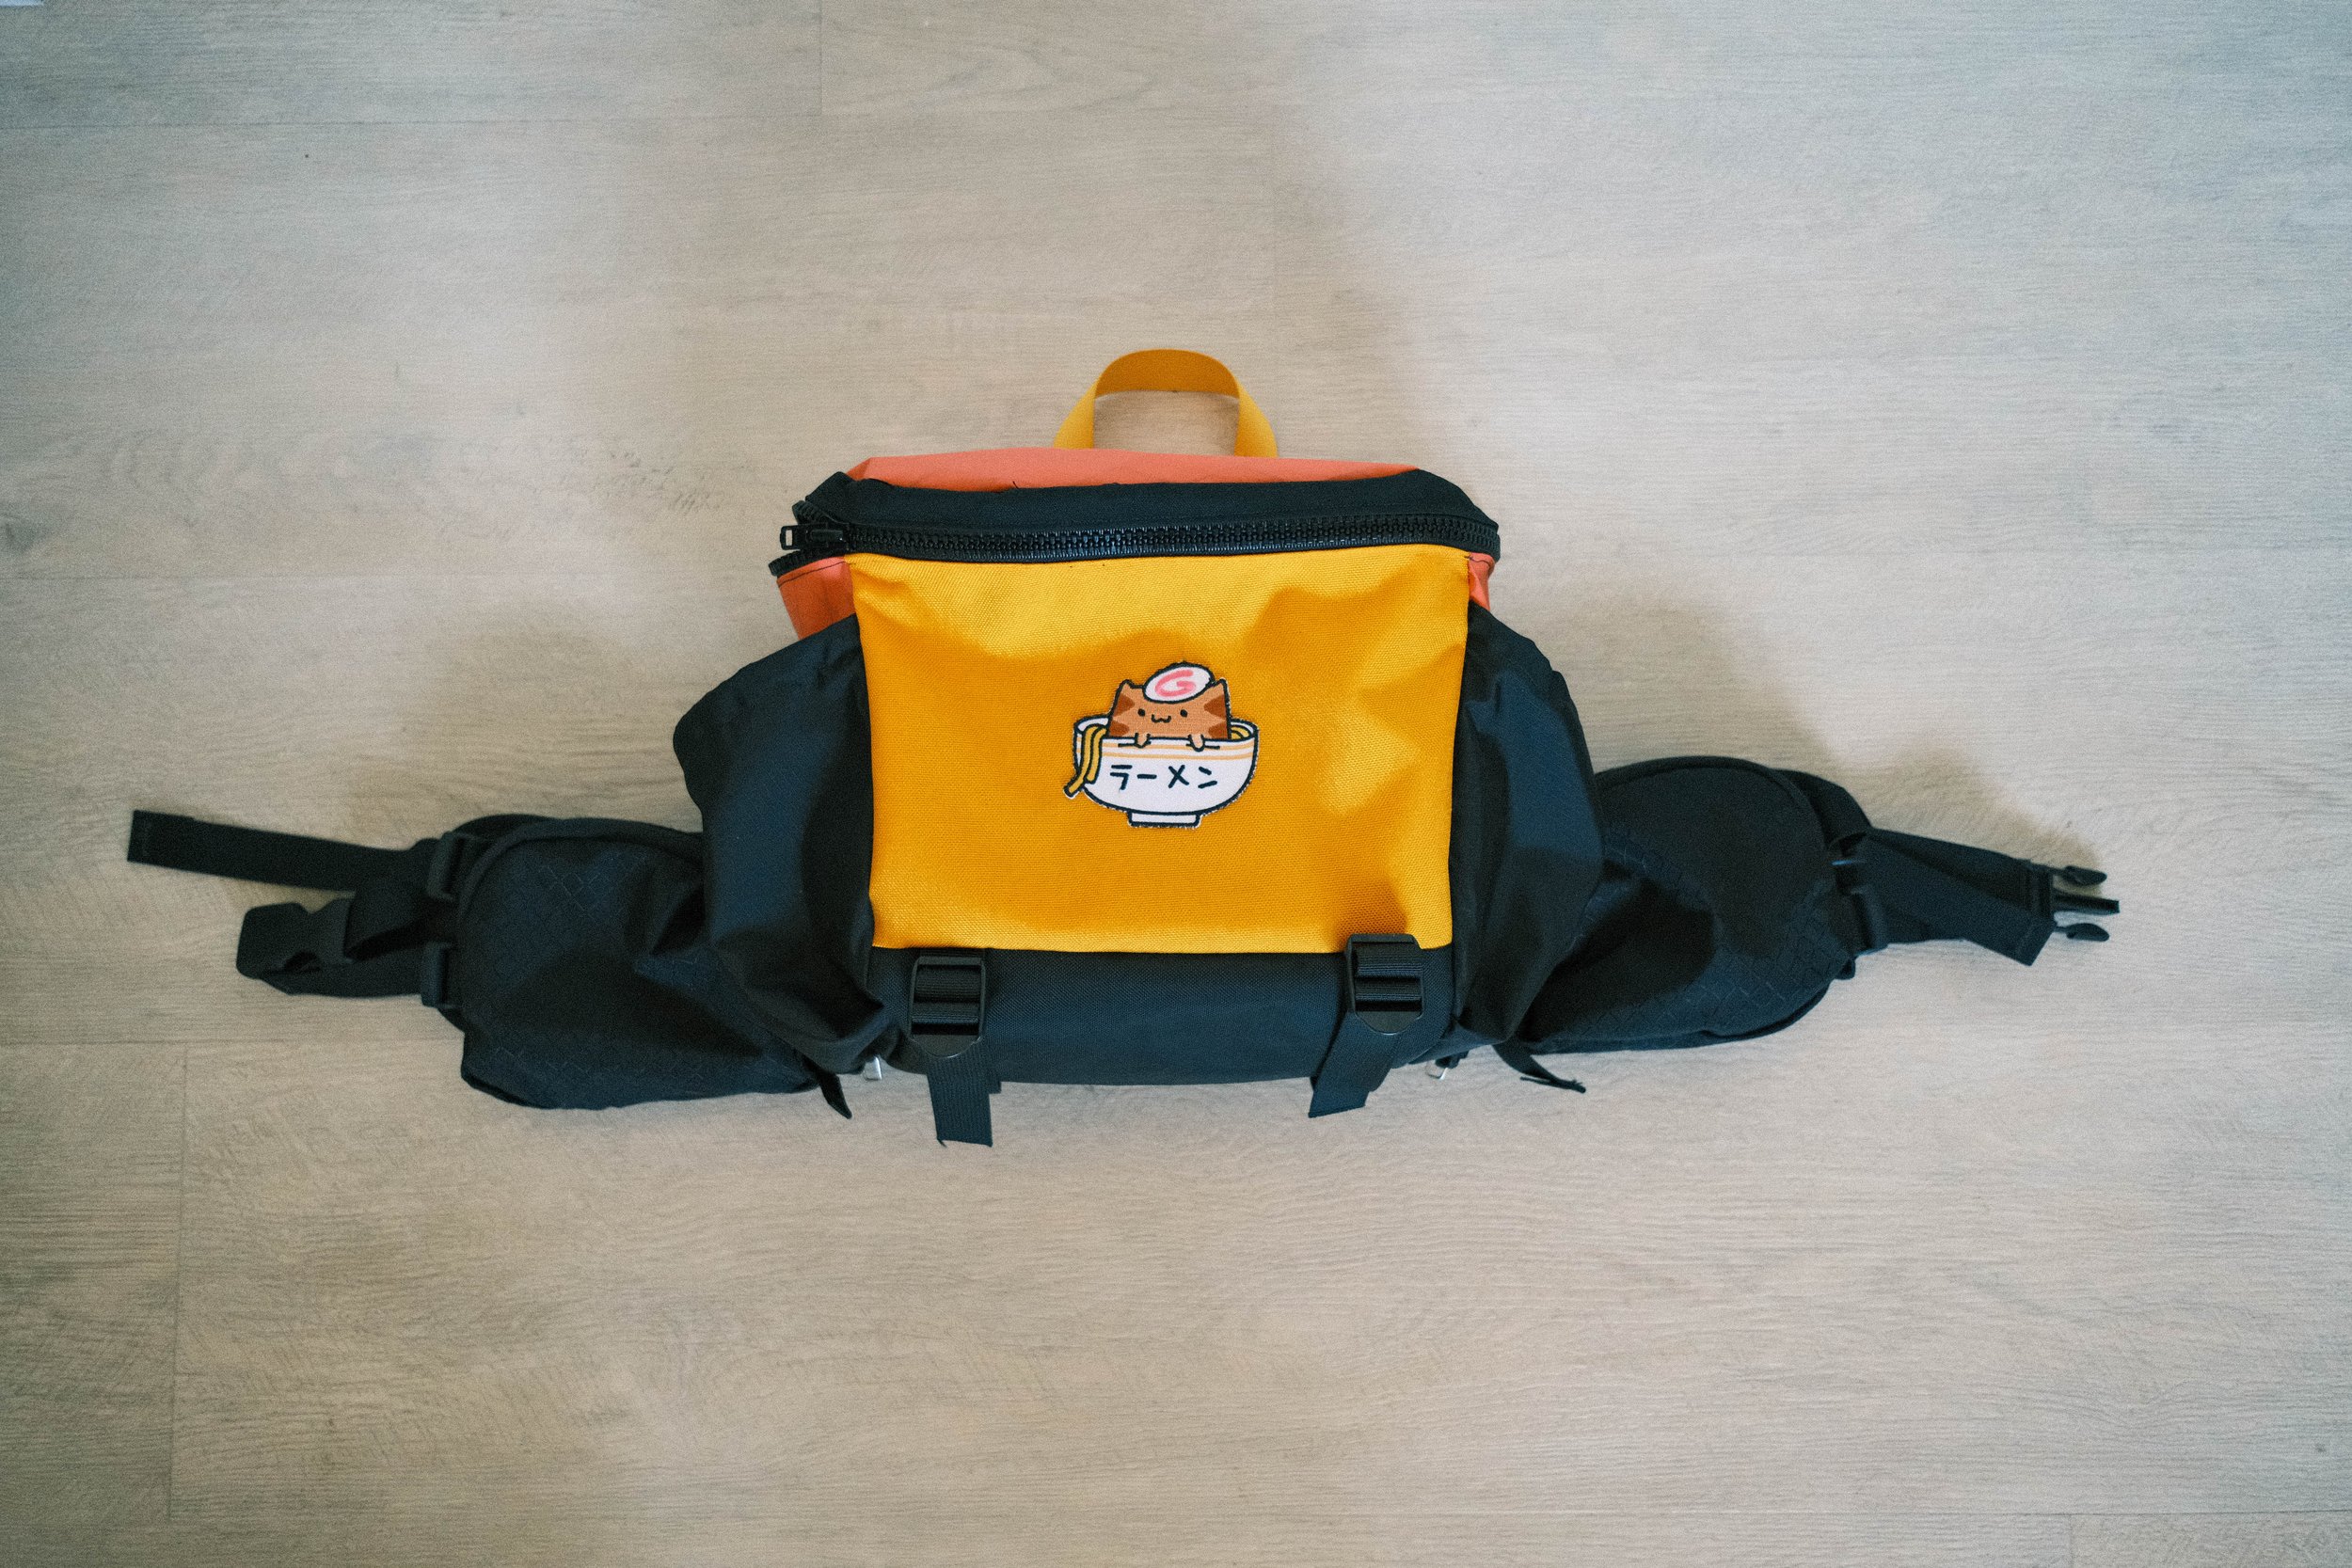
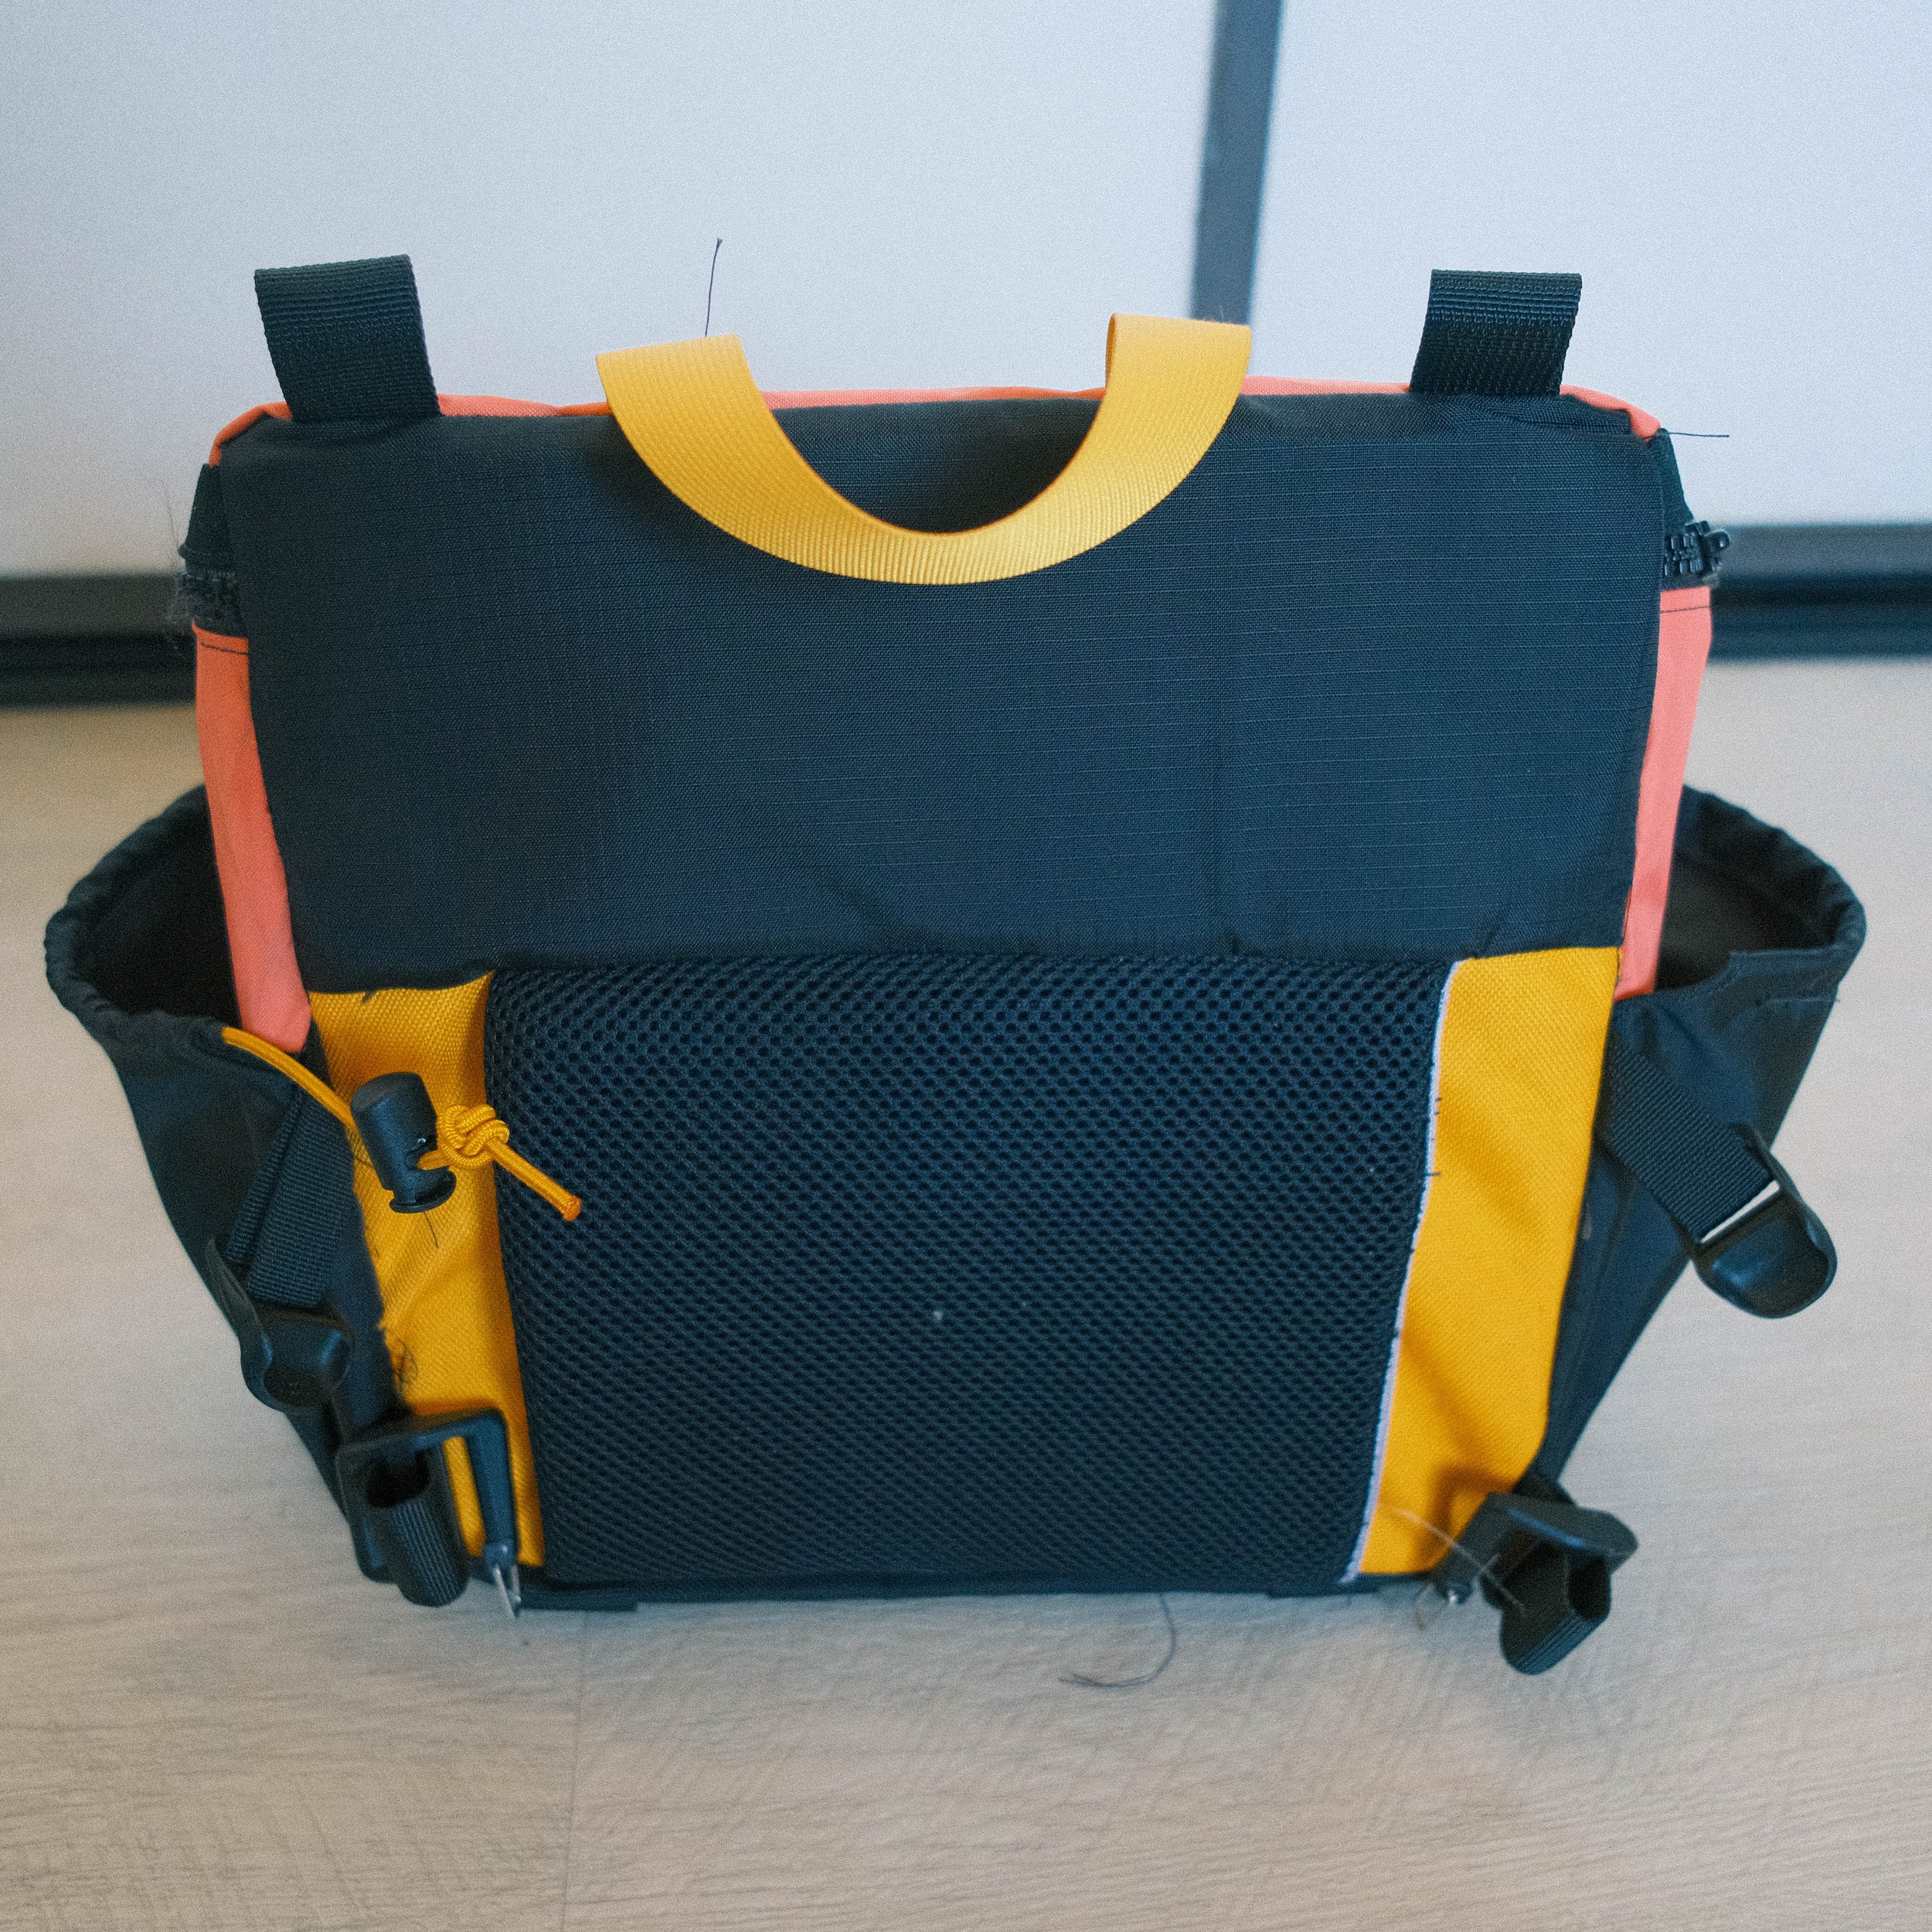
A couple of weeks ago, I made the second iteration of the Stitchback lumbar pack. While I had a Mountainsmith Tour lumbar pack that I liked, I wanted something that was even more modular, so I could use the ULA waistbelt that I already had with the Mountainsmith shoulder straps. If I could make that work, I would be able to use the base lumbar pack as a sort of camera packing cube when traveling with my ULA backpack, and then reconfigure the straps after getting to a destination for shorter day hikes.
This was my first major project using the new-to-me Juki 1541, which came with its own set of issues. The needle bar collar was dented and chipped, which meant my thread kept getting caught and unraveling. For stitches longer than 6 inches, the thread would fray and break. I ended up having to replace that part of the machine, and eventually it started working as expected.

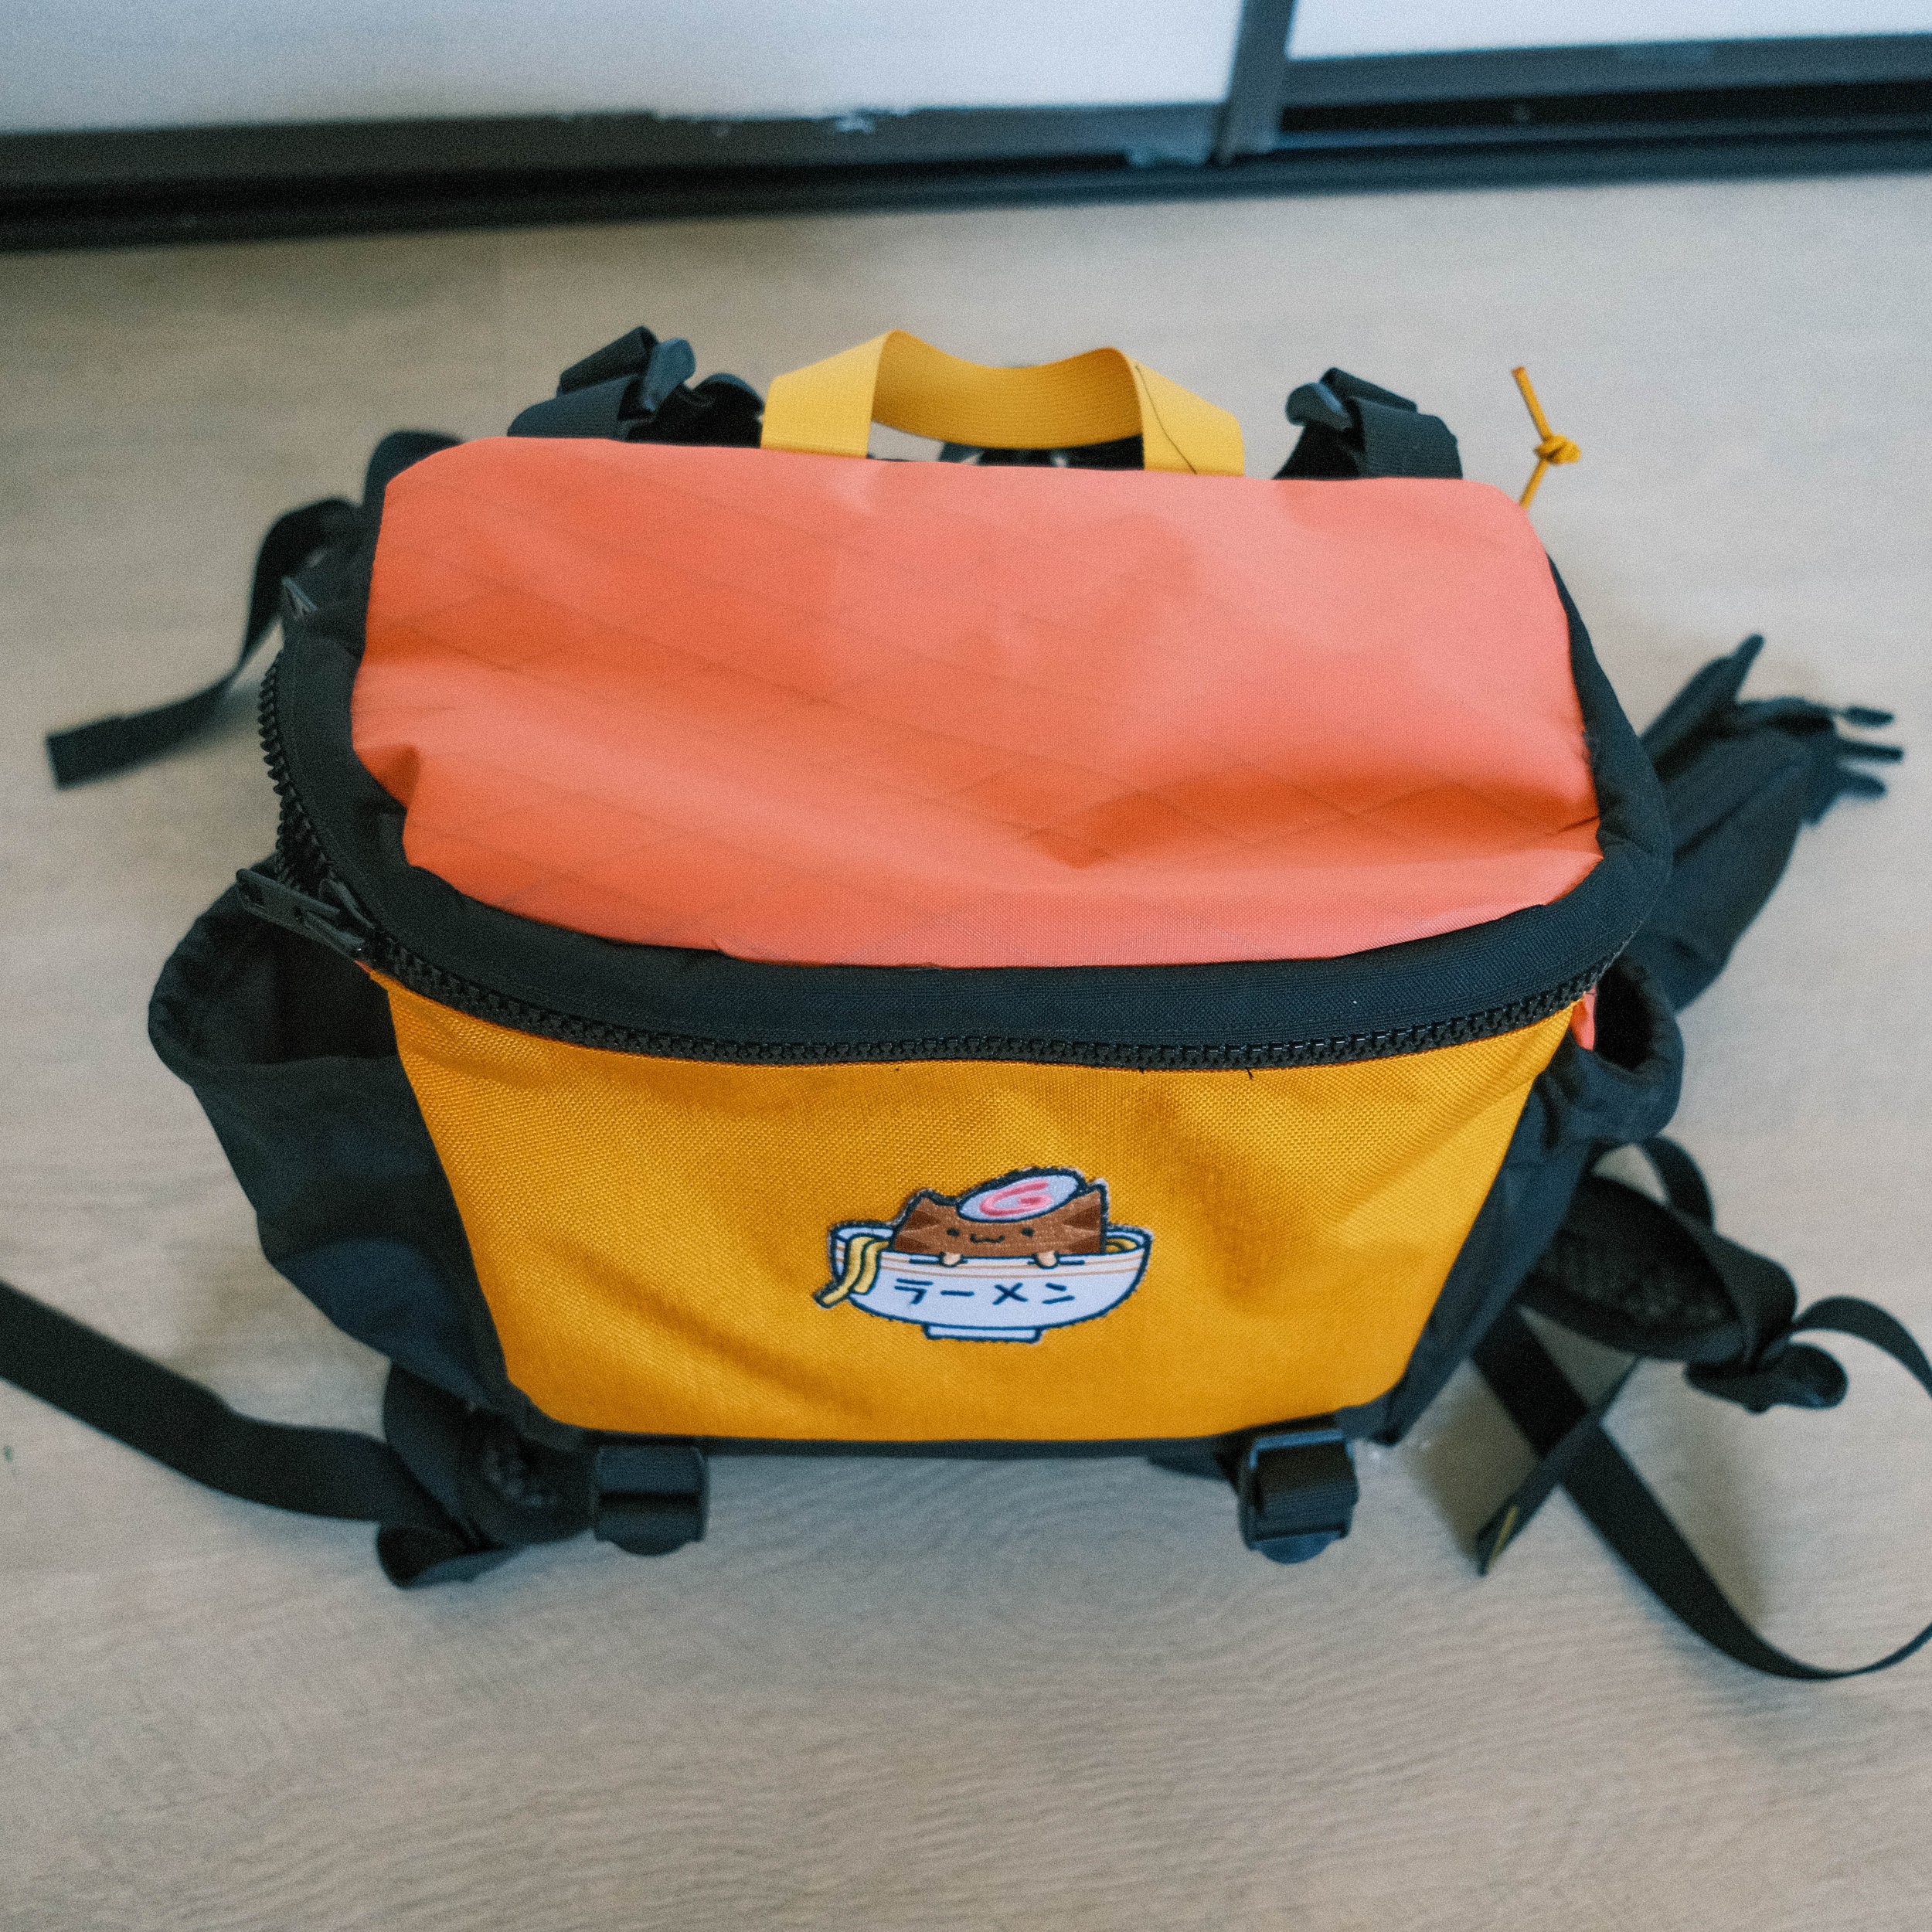
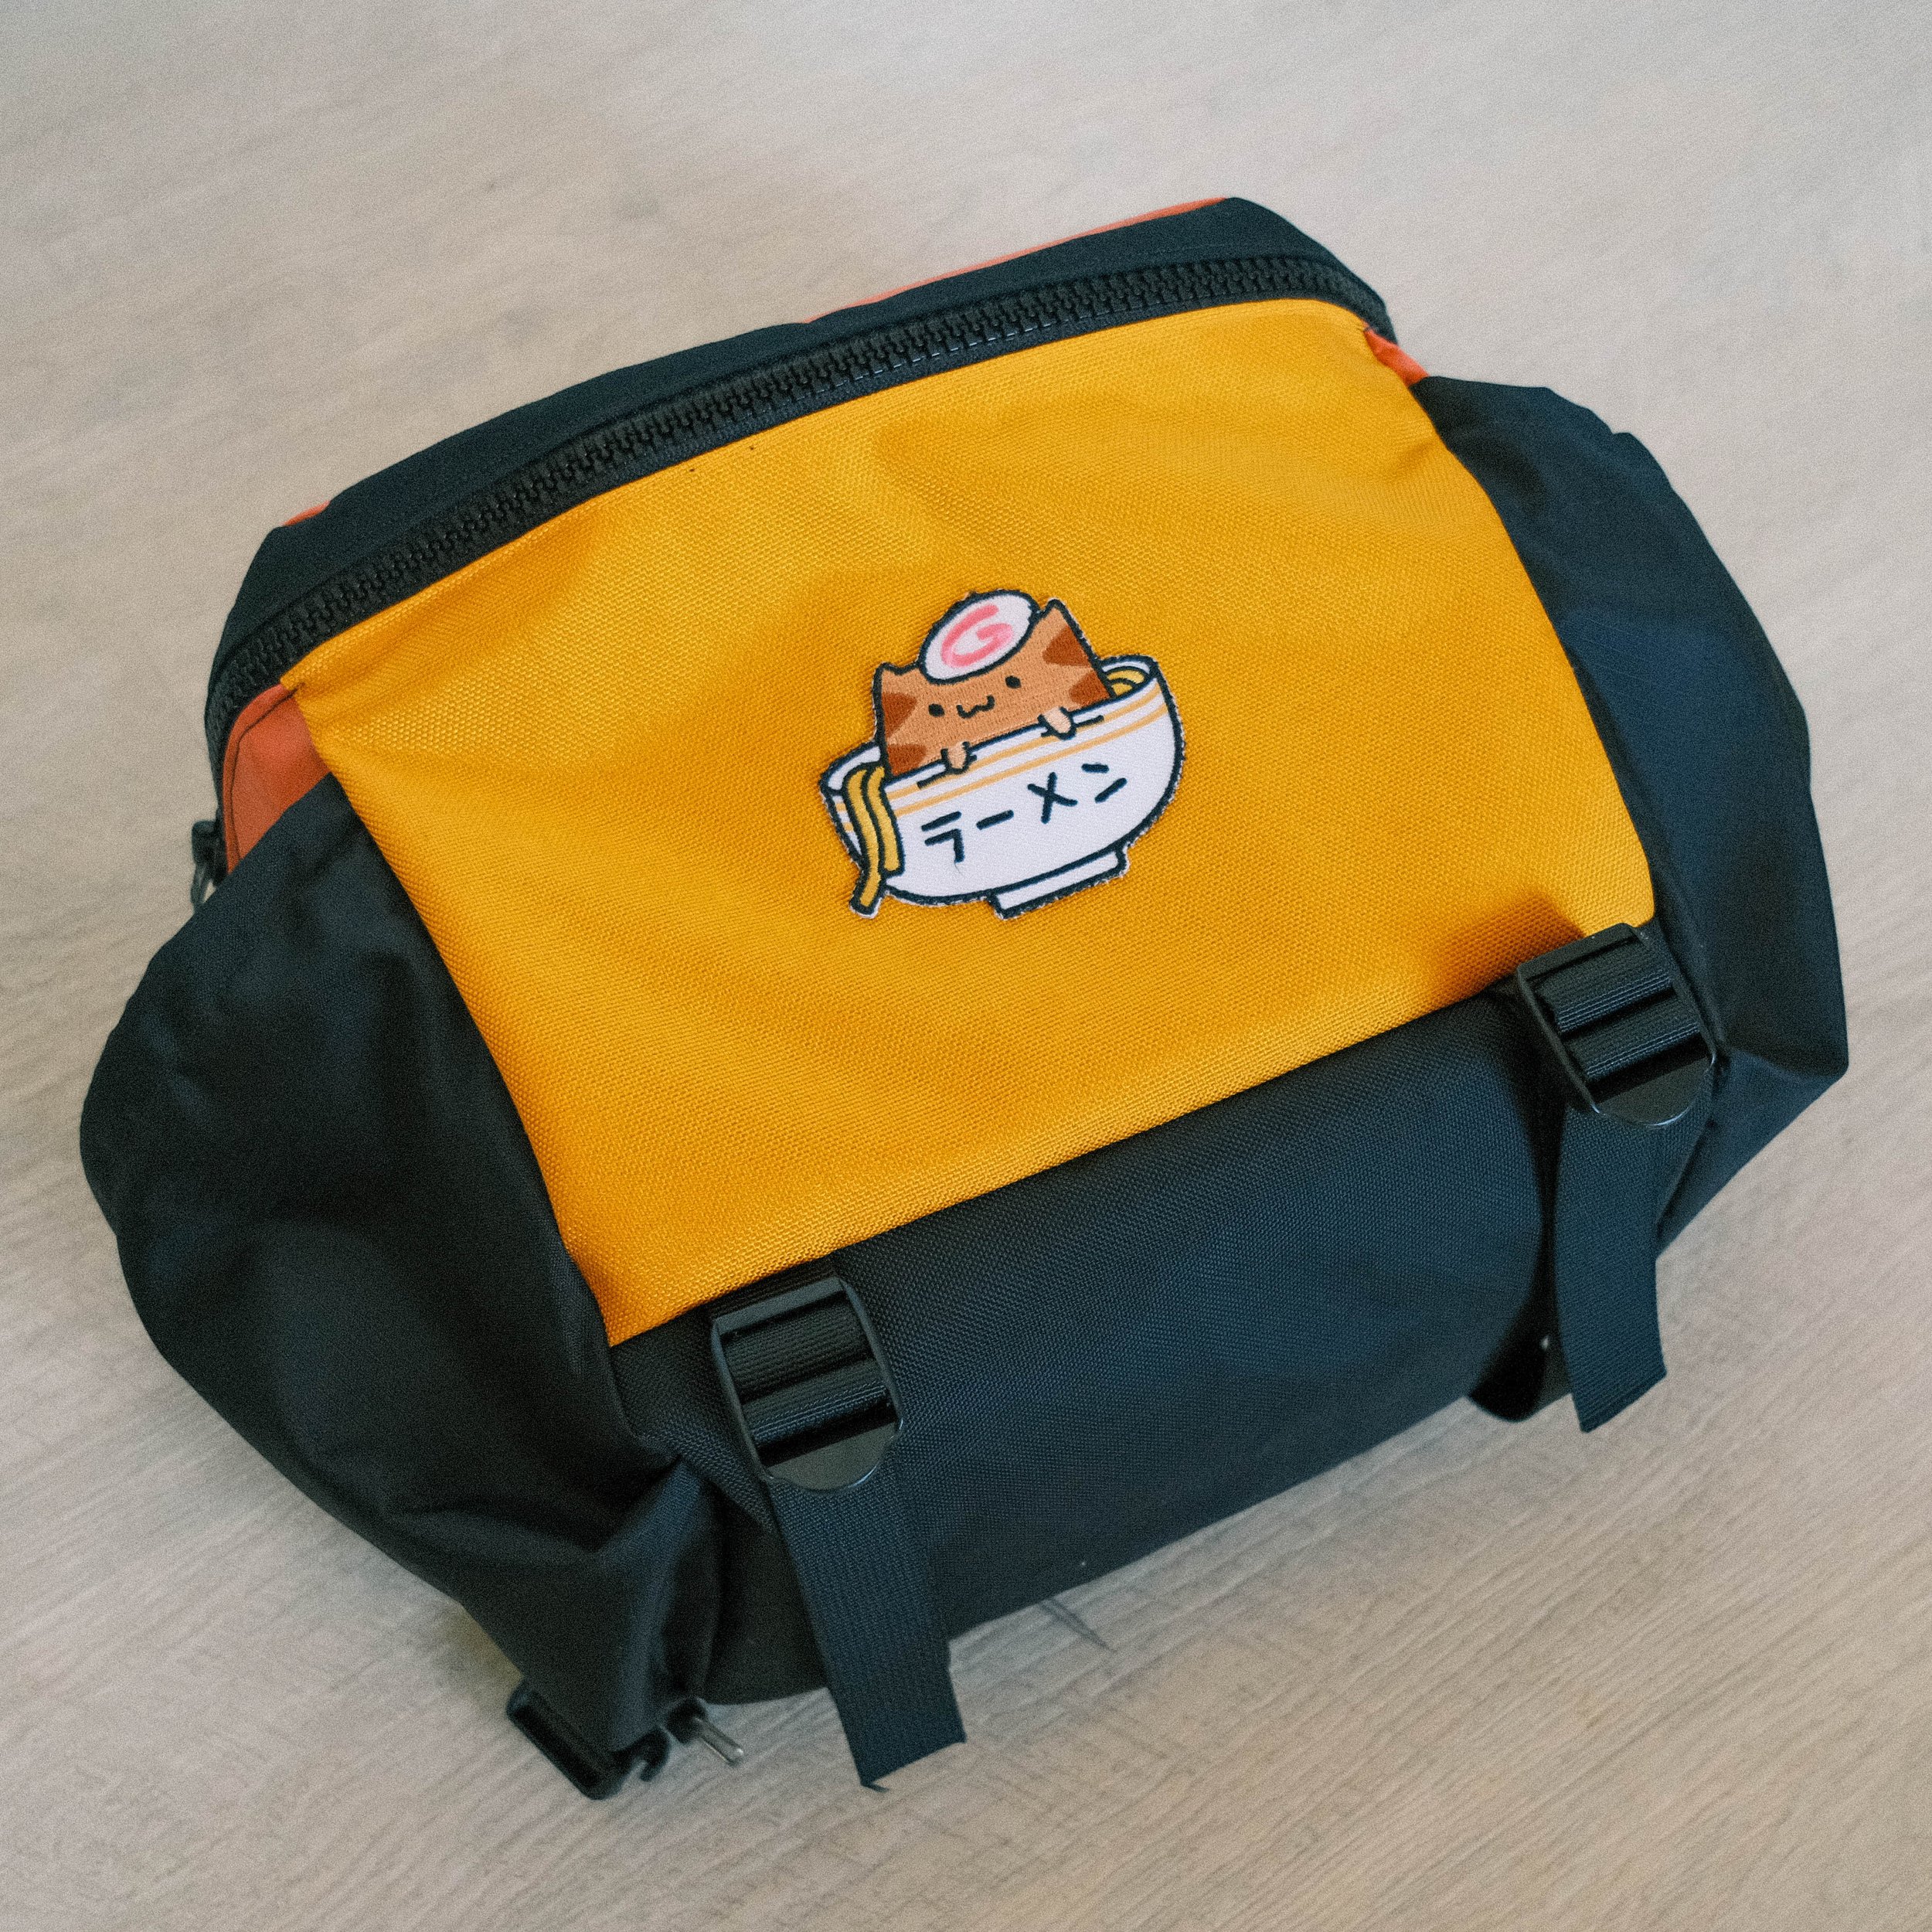
Attaching the various additional points to adapt for a removable waist belt and shoulder straps was less difficult than I anticipated. Everything came together pretty cleanly, and I was proud to avoid a lot of the “beginner” mistakes that frustrated me in previous projects (sewing wrong sides together, seam allowance issues, uneven seams, etc). I am still working on making cleaner corners, but overall, I’m quite happy with how it turned out. It was a pretty interesting choice of colors for me since I mixed X-PAC with CORDURA and a bunch of other scrap materials. I thought including the ramen cat patch would make it more fun and a stronger departure from my usual all-black motif. After testing it out in Death Valley paired with a MODL hydration bottle, I thought it was highly functional and comfortable. I may one day make a v3 that’s designed entirely around a hydration bladder to eliminate the need for large side pockets, but for now, ramen cat stays.